How to Install a Windows 10 VM on a Mac

When building desktop or mobile cross-platform apps it is very important to test across devices. However, operating separate hardware for each platform can be daunting or cost-prohibitive. Virtual machines to the rescue!
In this guide I'll explain how Mac developers can install a Windows 10 Virtual Machine on their Apple computer, using VirtualBox.
A VM for a different platform than you are building on can be invaluable in testing:
- websites or web apps in Internet Explorer 11 or Microsoft Edge
- desktop software such as Electron apps
- file system differences (paths, directory structure, etc)
- device drivers
- and many more
Prerequisites
Microsoft is kindly provinding a free Windows 10 virtual machine that you can download here and use for 90 days. Do so, after picking your VM platform of choice.
Since my Mac environment is setup mainly for Laravel development, and since I prefer Vagrant instead of Valet, that means I have both Vagrant and VirtualBox already installed.
My personal preference for the Windows 10 VM is to use VirtualBox, since I am partial to the GUI.
Make sure you have ~ 30 GB of space on your computer initially The VM comes in a ZIP file that is pretty substantial at > 7 GB and you'll have to unzip it as well. When you import the VM into VirtualBox, another ~14 GB will be created. You may delete the original download after importing, however.
Install the VM
For VirtualBox, you will have downloaded a file called MSEdge.Win10.VirtualBox.zip.
After the download completes, extract the archive.
Import the VM into VirtualBox
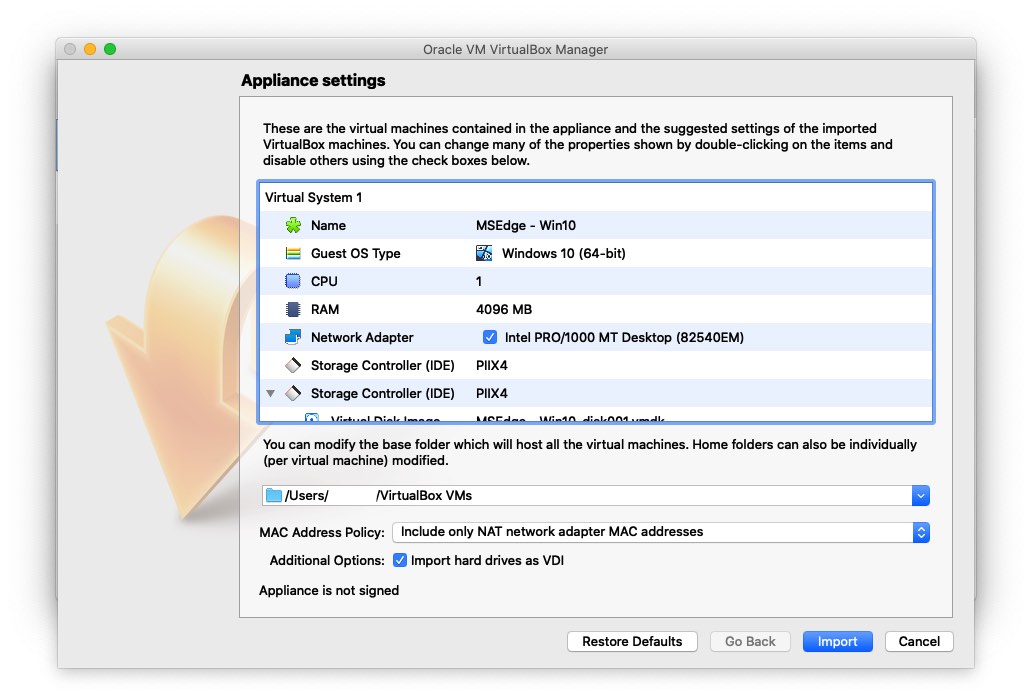
Go to the folder that was just extracted (it should be called MSEdge - Win10). If VirtualBox is already installed, you can double-click the MSEdge - Win10.ovf file to import it into VirtualBox. A settings window will appear. Accept the defaults and hit Import.
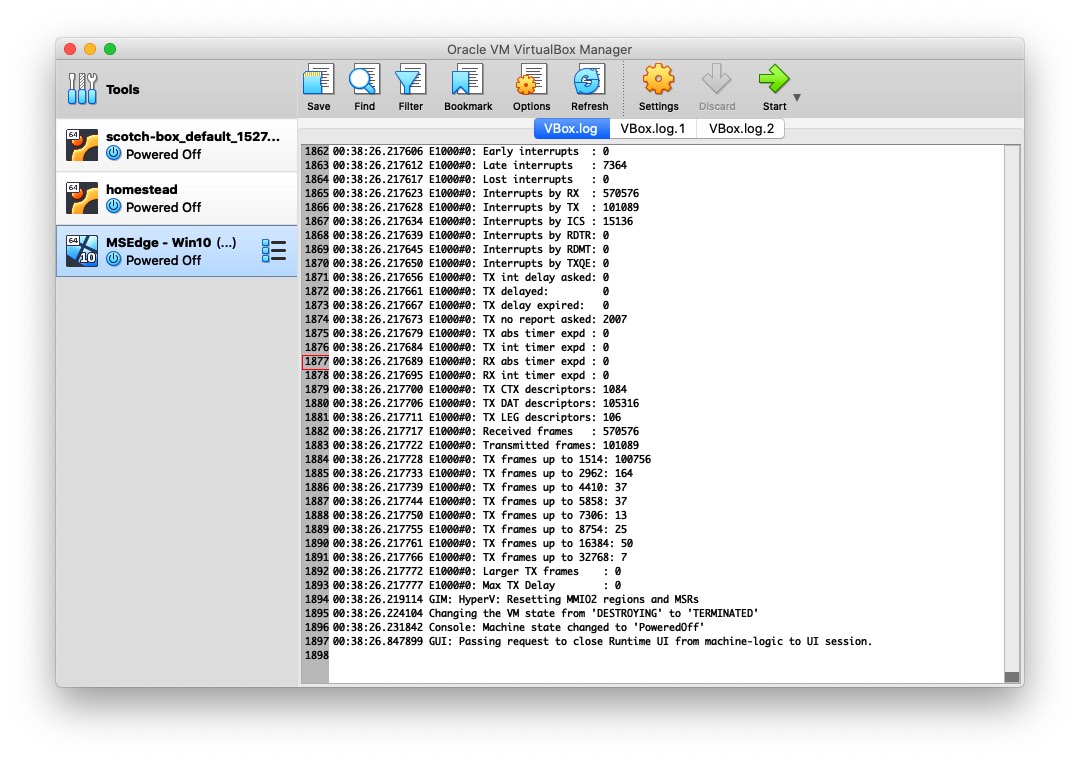
⏱ wait a few minutes for the import to finish. You should see something like the following.
Select the Win10 VM and click Start.
There will be a security prompt asking you go give VirtualBox access to your keyboard. Go to System Preferences > Security & Privacy > Privacy > Input Monitoring and check VirtualBox after unlocking the settings with your root password. This will require VirtualBox to restart, so if the VM has already booted, shut it down, then open VirtualBox and start the VM once again.
If everything worked correctly, you should see the following screen.
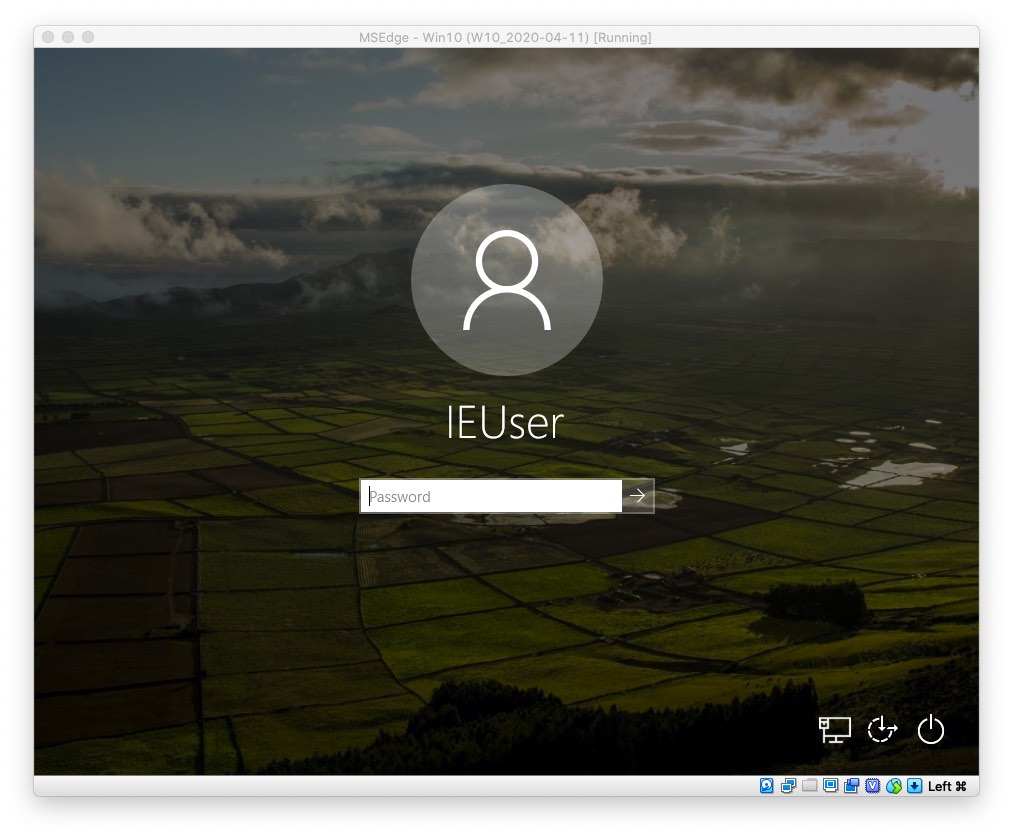
Login
User: IEUser
Password: Passw0rd!
Boom, you're in!
Take a snapshot of the VM
Before starting any actual work, it's a very good idea to take a snapshot of the initial state. Why? Because this will allow you to use the VM even after the original 90 days have expired. Once it stops working you can restore it to this point and use it for another 90 days. Don't worry, this is not illegal, even Microsoft suggests this on the page you've just downloaded the VM from.
To take the snapshot, once the VM has booted and with the VM window active, in the VirtualBox VM application menu, select Machine > Take Snapshot... then give it a name and optional description when prompted, and click OK.
Restoring a snapshot
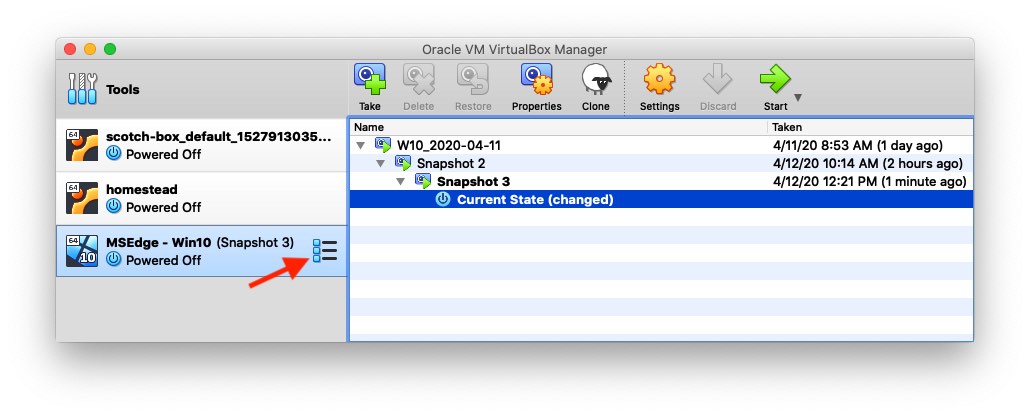
With the VM powered off, click the menu next to the name of the VM.
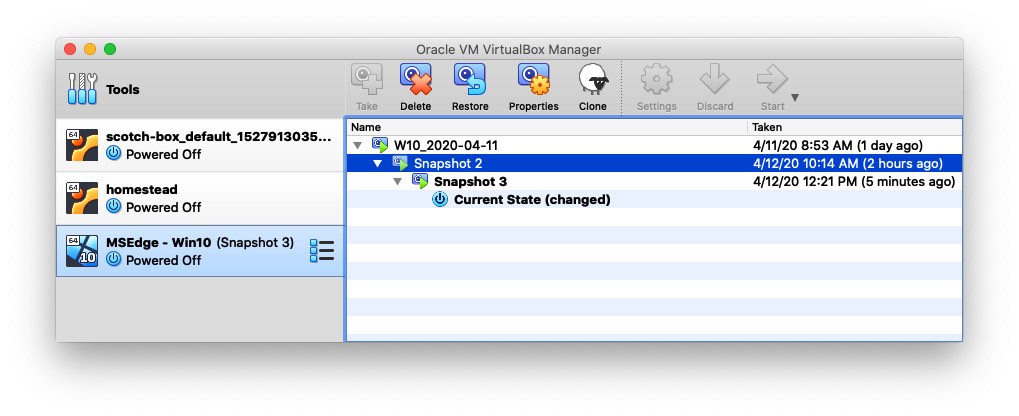
Then select the snapshot you wish to restore and click Start (for the latest), or Restore (for older snapshots).
Restore the latest (current) state of the VM
Restore a previous snapshot
Snapshot backups
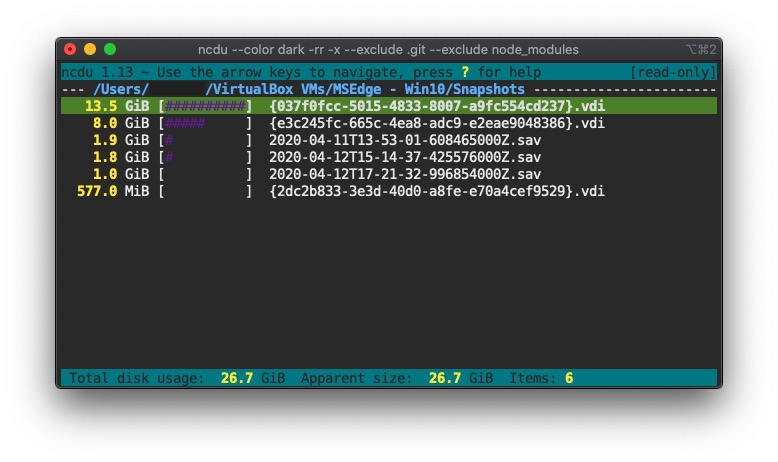
You can back up the snapshots individually if you wish. The files are located in /Users/YourUser/VirtualBox VMs/MSEdge - Win10/Snapshots.
Keep in mind that snapshots require additional storage space, and that can be a pretty steep price to pay. In my case, 3 snapshots take 26.7 GB. Ouch!
Transferring files & shared clipboard
To transfer files back and forth between your computer and the VM, while the VM is running, in the VirtualBox application menu select Devices > Drag and Drop > Bidirectional.
Now you should be able to open a File Explorer window in the VM, then drag a file over from your Mac.
Similarly, you'll likely want to be able to copy/paste between your computer and the VM, so make sure to check Devices > Shared Clipboard > Bidirectional.
A note on keyboard shortcuts
You'll find that some of the keyboard shortcuts you're used to on the Mac behave differently in the Windows VM. Here are a couple of the mappings I've discovered so far (as a general rule, use Control where you would use CMD):
- CMD+C/V/X → Control+C/V/X
- Delete → Fn+Delete
- CMD+Tab → Control+Tab
Where to next?
If you are using this VM for development, I would highly recommend setting up the environment to your exact specs, then taking another snapshot. Do this at the beginning, so that you can still take advantage of the full 90 day activation period.
Some of the tools I installed on my fresh installation, for example, include:
- Chrome & Firefox
- Git Bash
- create/configure Bash aliases
- generate an SSH key and add the key to the Github (or equivalent) account
- Node
- Yarn classic (V1) or V2
- Visual Studio Code
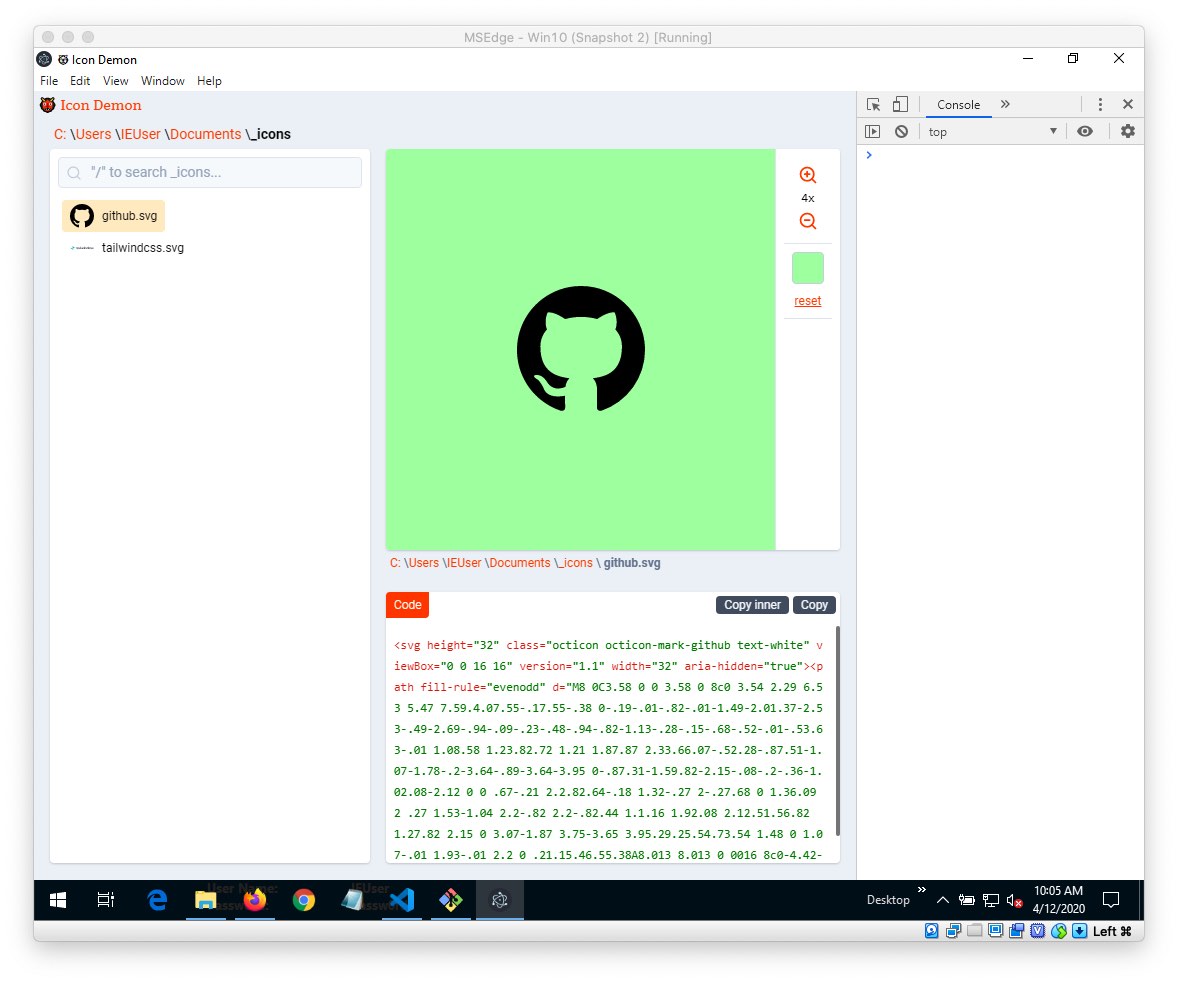
I'll leave you with a screenshot of a new Svelte + Electron cross-platform app I'm working on, and how it looks on the Windows VM. Pretty nifty!